
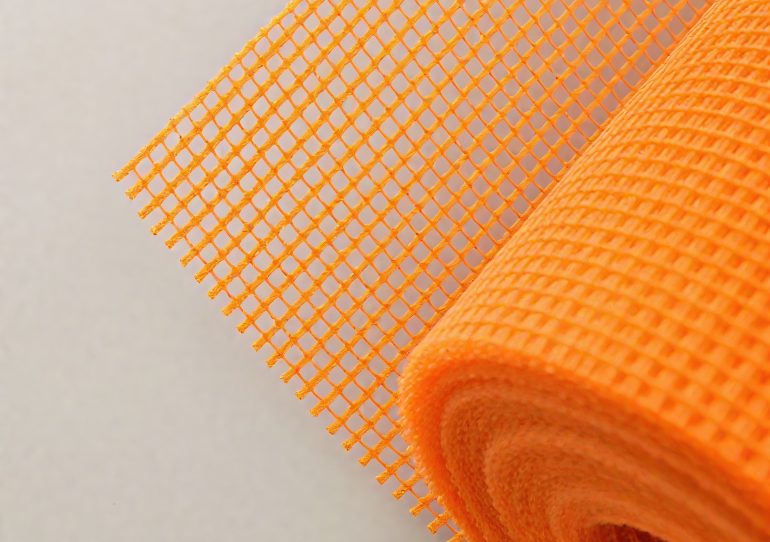
1. When to apply mesh cloth? Getting the order wrong means it’s as good as not applying it at all!
Wall decoration–Apply the mesh cloth after base treatment (e.g., before scraping the first layer of putty). Press the mesh cloth into the base with putty or cement mortar to ensure it adheres tightly without air bubbles.
Old wall renovation–First remove the hollow and cracked parts of the old wall, fill them in, then focus on applying mesh cloth at the joints and internal/external corners, and finally scrape putty on the entire surface.
Tile installation–After brushing cement slurry on the wall, spread and press the mesh cloth firmly, then apply cement mortar to stick the tiles, which enhances adhesion.
2. What to do if the mesh cloth doesn’t stick firmly or bubbles form?
Unclean base–Dust or oil on the wall will cause the mesh cloth to fall off. The wall must be sanded with sandpaper and cleaned with a vacuum cleaner before construction.
Too thick coating material–Excessively thick putty or cement mortar will shrink after drying and crack the mesh cloth. It is recommended to apply thin layers multiple times, ensuring each previous layer is completely dry before the next.
-Mesh cloth not tightened– When laying, pull it flat from the center to the surroundings to avoid wrinkles. Press the edges and corners an extra 5-10 cm to prevent them from curling later.
3. Key areas prone to cracking, such as corners, need special treatment!
Corners are areas of concentrated stress. It is recommended to use a “cross” laying method: at the joints between walls and ceilings or at wall corners, extend the mesh cloth 10-15 cm on both sides and press it firmly with putty to avoid hollowing at the joints.